
The Music Visualizer
What if your program could listen to the world around it? In this mission, we'll use a different kind of sensor to prove that mapping data is a universal idea. We'll use your device's microphone to capture the noise level in the room and turn it into a light that moves in real time. Get ready to build a visualizer that lights up with your voice, your claps, or your favorite song!

Level Basic
What will we do?
Are you a teacher?
Courses
- Grades 3-12
Materials
- Phone and computer
- Internet connection
- Cardboard, scissors and a couple of rubber bands to hold the phone against the cardboard
Description
This activity consolidates the idea of mapping data by showing how widely it applies. Students will move from a gesture sensor (tilt) to an environmental sensor (the microphone), and will map the noise level to the position of a light. This reinforces that mapping data is a universal computational tool.
Educational Objectives
- Generalize the idea of mapping sensor data.
- Use the microphone as a data input device.
- Understand how a numeric value from a sensor can directly control the properties of a light.
- Build a real-time data visualization prototype.
Start (10 minutes) - Mapping Data is Universal
- Welcome the students: "Do you think mapping data only works with the motion sensor?"
- Introduce a new idea: "What other 'sense' does your device have that we could use?" Guide them towards the microphone. "What if, instead of a gesture, we captured sound? Could we make a light move across the screen when we talk loudly and go back to its place when we are quiet?"
- Explain that this is today's goal: to show that mapping data is a universal principle that works with any sensor and any output.
The Microphone: The Device's Ears
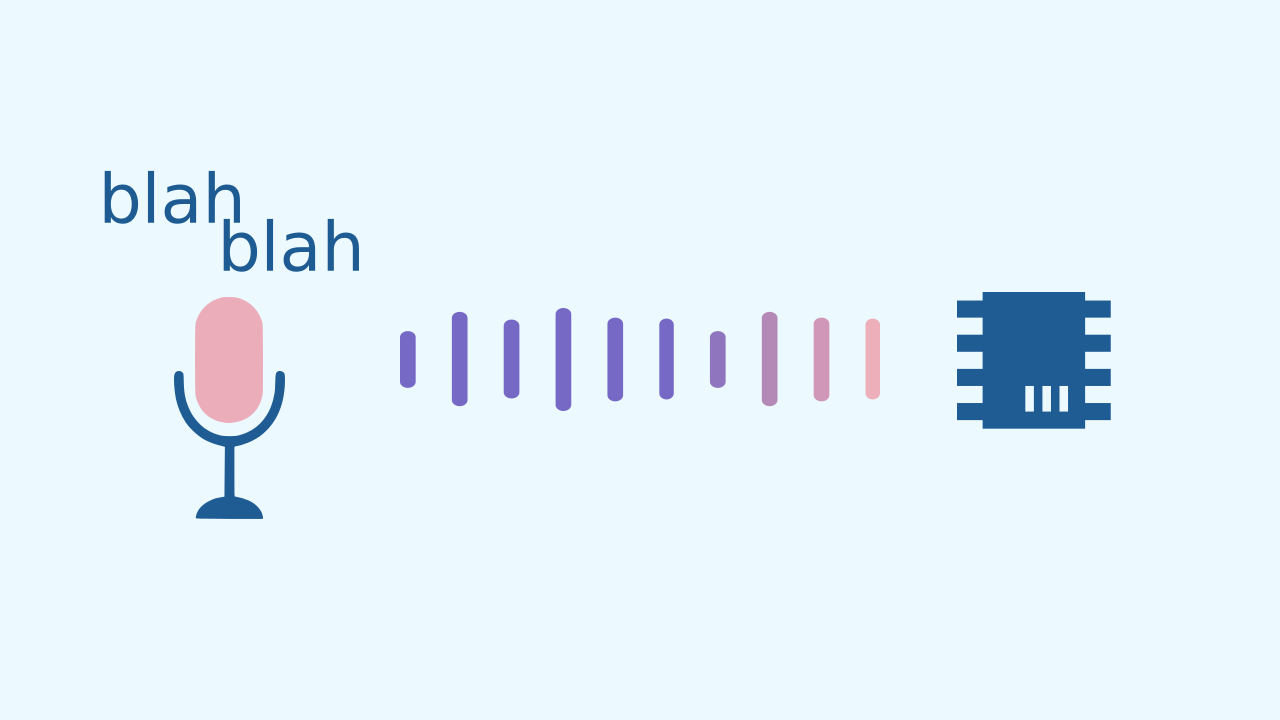
Your device's microphone is a sensor built to "listen." It turns the sound waves traveling through the air into an electrical signal. Your program can read that signal as a number that represents how loud the sound is. We call this the noise level. The louder the sound, the bigger the number the sensor gives us.
Generalizing data mapping: a universal principle
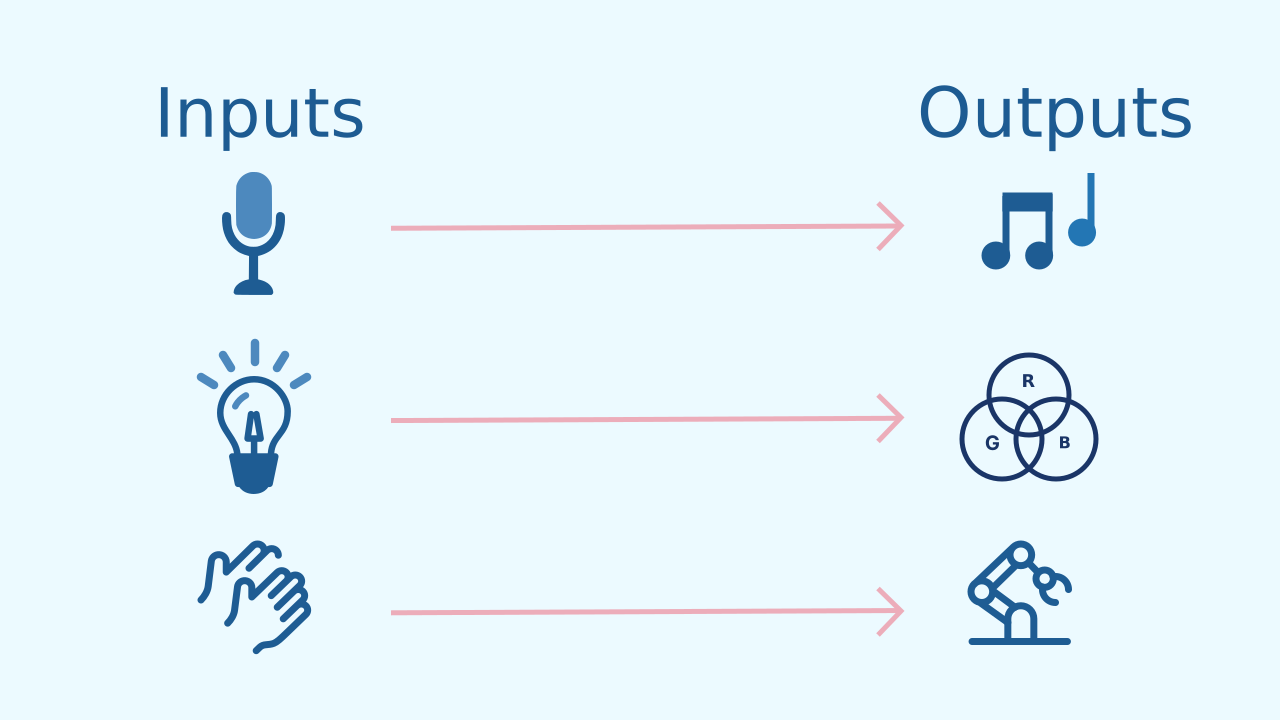
The most important thing we will learn today is that mapping data does not depend on one specific sensor. It is a fundamental principle of programming that follows a simple formula: Input → Processing → Output. You can map any input (tilt, noise, light level) to any output (sound, color, position, vibration). By using a microphone instead of a motion sensor, we are showing that mapping data is a universal tool for creating interactions.
Controlling the position of the light with Data
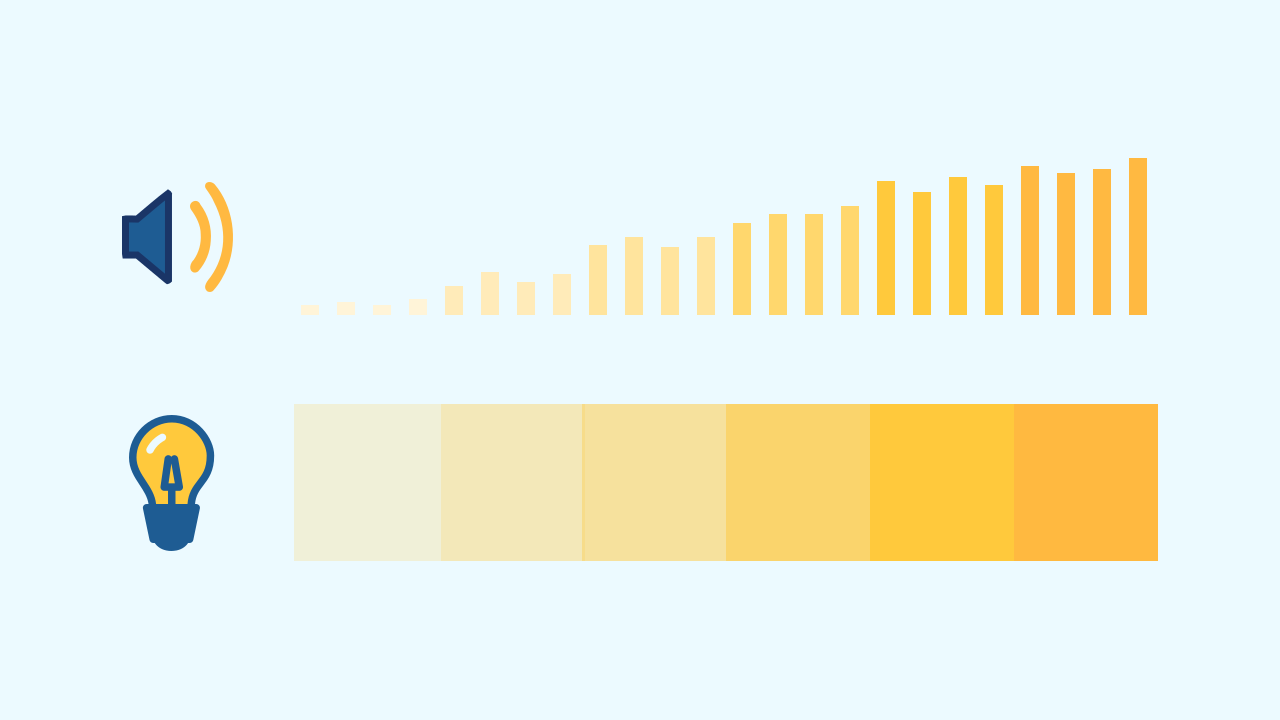
The screen is a grid of LEDs, and every position is identified by two coordinates: the column (X) and the row (Y). In this visualizer the columns stay fixed, and what the noise controls is the row. For our visualizer, we will take the number the noise level sensor gives us and use it to decide which row the LEDs light up in (we will have to limit this to the number of rows the screen actually has). Since that number can get very big, we divide it to fit the height of the screen. The result: the louder the sound, the higher the light moves up the screen!
Development (20-30 minutes) - Building with Sound
- Now that the students are ready to generalize the idea, it's time to build the visualizer.
- Guide them through the instructions for using the noise sensor to control the position of the light, as detailed below. Encourage them to make all kinds of noise (talking, clapping, playing music) to see the reaction in real time.
Closing (5-10 minutes) - Reflecting on Input and Output
- Once everyone's visualizer is reacting to sound, it's time to consolidate what they have learned.
- Start the final discussion: "Today we have demonstrated one of the most important ideas in programming. What data did we map, and to which output? What other combinations of sensor and output can you think of?" Use the questions in the reflection section to encourage creativity and a deep understanding of the idea.
Reflect
You have shown that mapping is a universal principle. Which sensor did we use as the input, and which property did we control in the output?
Think about the other sensors in your phone (like the ambient light sensor). What data could you map with it? What would you create?
The Microphone: The Device's Ears
Your device's microphone is a sensor built to "listen." It turns the sound waves traveling through the air into an electrical signal. Your program can read that signal as a number that represents how loud the sound is. We call this the noise level. The louder the sound, the bigger the number the sensor gives us.
Generalizing data mapping: a universal principle
The most important thing we will learn today is that mapping data does not depend on one specific sensor. It is a fundamental principle of programming that follows a simple formula: Input → Processing → Output. You can map any input (tilt, noise, light level) to any output (sound, color, position, vibration). By using a microphone instead of a motion sensor, we are showing that mapping data is a universal tool for creating interactions.
Controlling the position of the light with Data
The screen is a grid of LEDs, and every position is identified by two coordinates: the column (X) and the row (Y). In this visualizer the columns stay fixed, and what the noise controls is the row. For our visualizer, we will take the number the noise level sensor gives us and use it to decide which row the LEDs light up in (we will have to limit this to the number of rows the screen actually has). Since that number can get very big, we divide it to fit the height of the screen. The result: the louder the sound, the higher the light moves up the screen!
Create
Let's build the music visualizer.
Build the cardboard model— you will also need a couple of rubber bands to hold the phone against the cardboard
- Press ✙ Add Device and select NoiseLevel to use the microphone.
- Press ✙ Add Device again and select LEDDraw to be our screen of lights.
- Remember to scan or open the components. You can put them both on the same device.
We are ready to turn sound into light!
Code Composition
Press the question mark symbol to open the comments. Inside a repeat forever loop, the program first clears the drawing — so the previous light does not stay on — and then reads the noise level and uses that number to decide the row where the LEDs light up (we divide it to fit the height of the screen and limit it between 1 and 7 so it does not go off the screen, subtracting it from 7 so it can grow from the bottom upwards). More noise means the light moves higher up!
Reflect
You have shown that mapping is a universal principle. Which sensor did we use as the input, and which property did we control in the output?
Think about the other sensors in your phone (like the ambient light sensor). What data could you map with it? What would you create?